To display X and Facebook share counts, you need to configure them. Don’t worry, it only takes a few minutes.
Enable Twitter counts
As of 2023, it’s no longer possible to enable share counts for X (formerly Twitter). This is simply due to changes to X from Elon Musk.
Twitter stopped offering its share count API years ago, but thankfully there are some alternative options provided by other companies. These are free services that aggregate all the data.
TwitCount
Follow the steps below to enable Twitter share counts using TwitCount.
Step 1
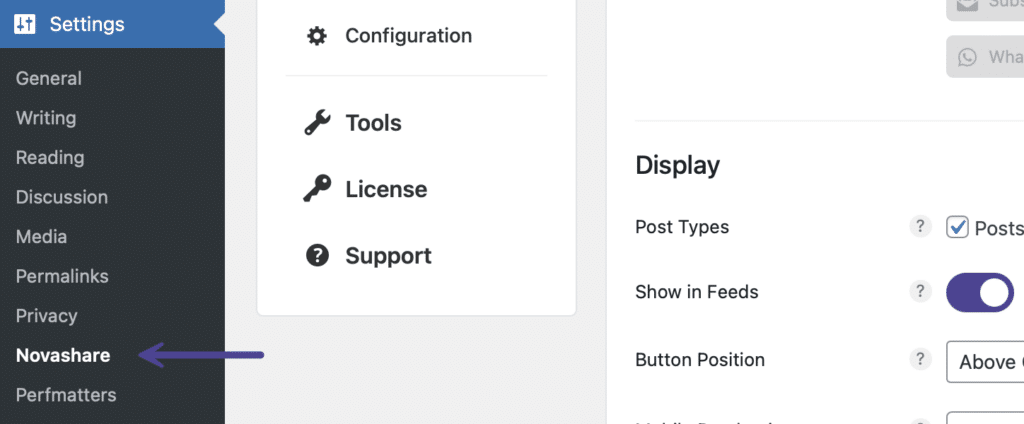
Click into the Novashare plugin settings.
Step 2
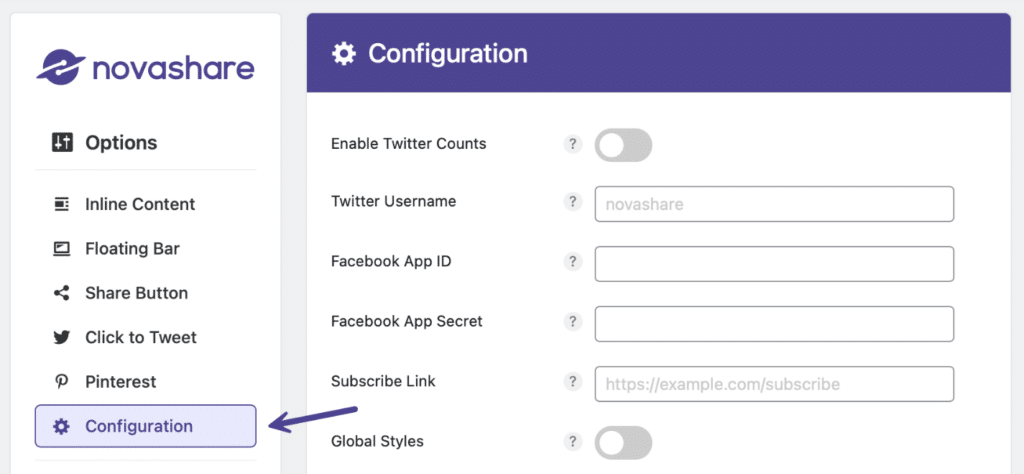
Click on the “Configuration” submenu.
Step 3
Toggle on the option “Enable Twitter Counts.”

Step 4
For the Twitter Count Service, leave the default, “TwitCount” selected.

Step 5
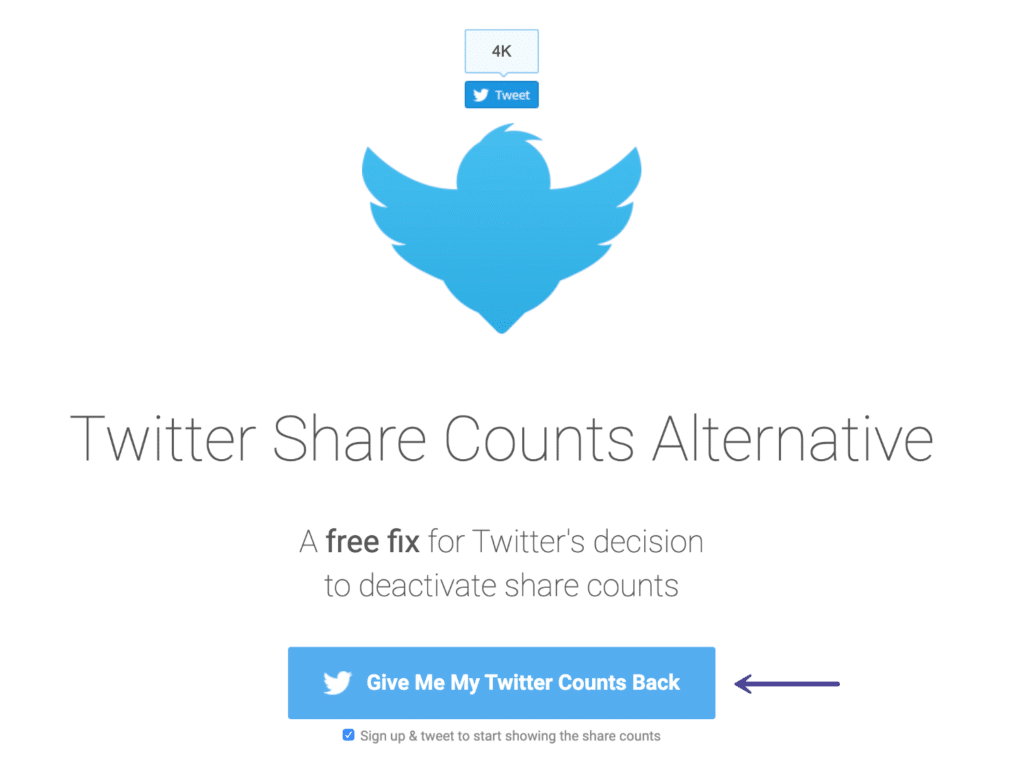
Visit twitcount.com and sign up for a free account. Before clicking the button, make sure you are logged into the Twitter account you want to use for your site.
Step 6
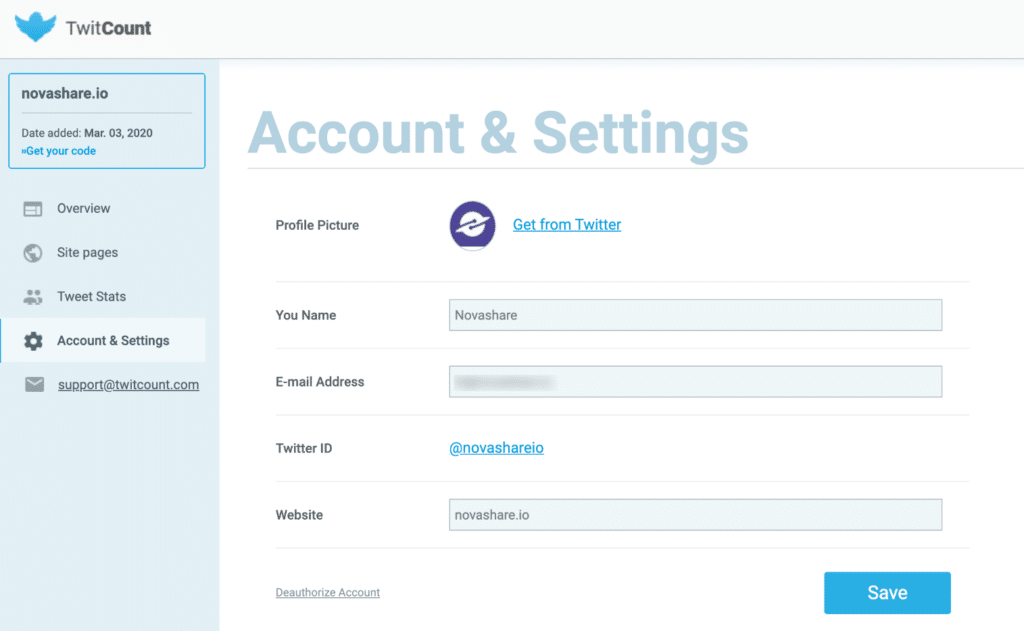
Input your domain for which you want it to count shares. For example, with our @novashareio Twitter, we have it looking at our novashare.io website. Any posts or pages shared from novashare.io on Twitter will then be counted.
And that’s it! Once you have TwitCount set up, Twitter shares will start showing up on your site.
Note: According to TwitCount, counts will start appearing in approximately 1 hour. This is due to the API limitations. The API provides information only for the tweets in the last week or so. This means that old pages may show incomplete counts. Starting the day you configure TwitCount, all new pages will have complete counts data.
OpenShareCount
Follow the steps below to enable Twitter share counts using OpenShareCount.
Step 1
Click into the Novashare plugin settings.

Step 2
Click on the “Configuration” submenu.

Step 3
Toggle on the option “Enable Twitter Counts.”

Step 4
For the Twitter Count Service, choose the “OpenShareCount” option.

Step 5
Visit opensharecount.com and sign up for a free account. Before clicking the button, make sure you are logged into the Twitter account you want to use for your site.
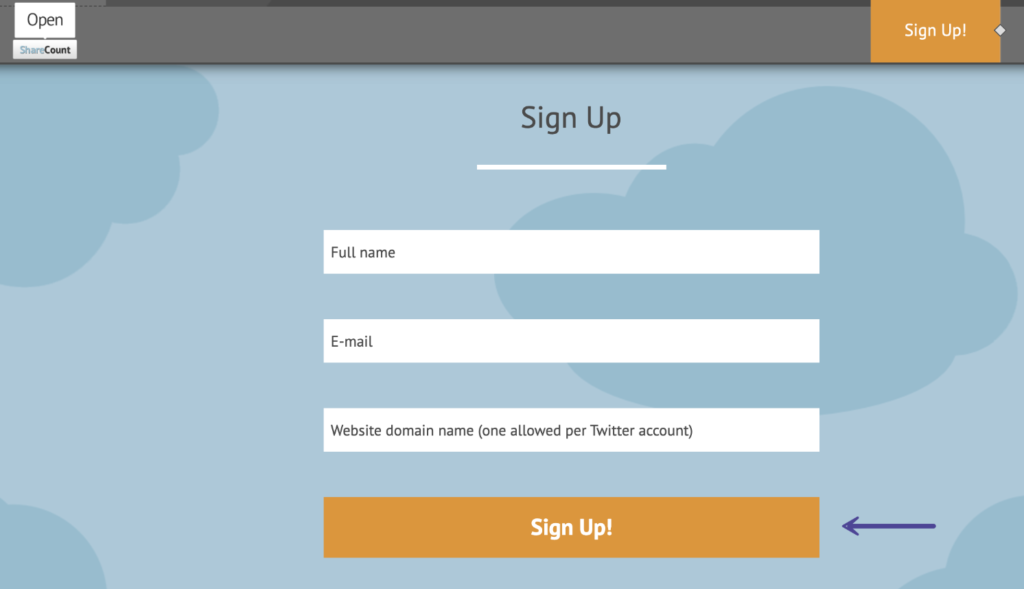
And that’s it! Once you have OpenShareCount setup, Twitter shares will start showing up on your site.
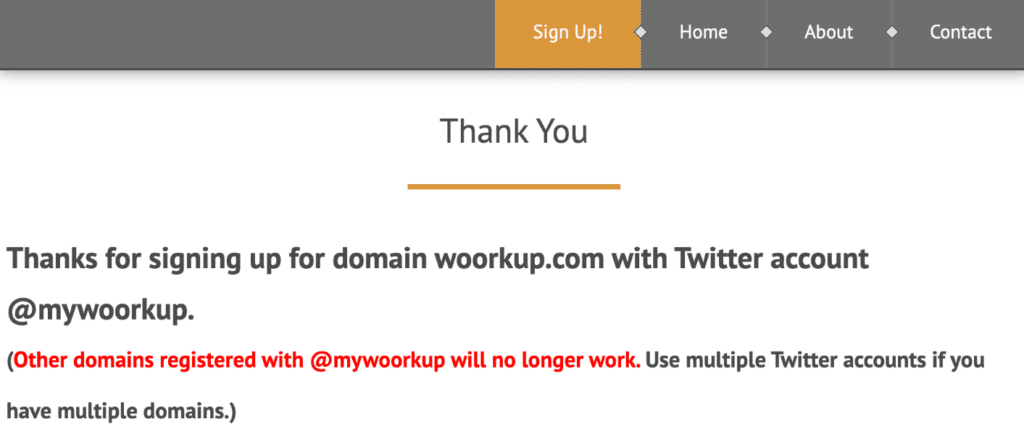
Note: According to OpenShareCount, counts will start appearing in approximately 1 hour. This is due to the API limitations. The API provides information only for the tweets in the last week or so. This means that old pages may show incomplete counts. Starting the day you configure OpenShareCount, all new pages will have complete counts data.
Facebook app ID and secret
To set up Facebook shares, you need to create a Meta developer account. Don’t worry, this is easy and completely free.
Follow the steps below to enable Facebook share counts.
Step 1
Visit developers.facebook.com/apps/. If you don’t have a developer account, you’ll need to sign up for one. Click on “Get Started” in the top right.
If you already have one, you can skip down to Step 2.

It will walk you through creating a Meta for Developers account.
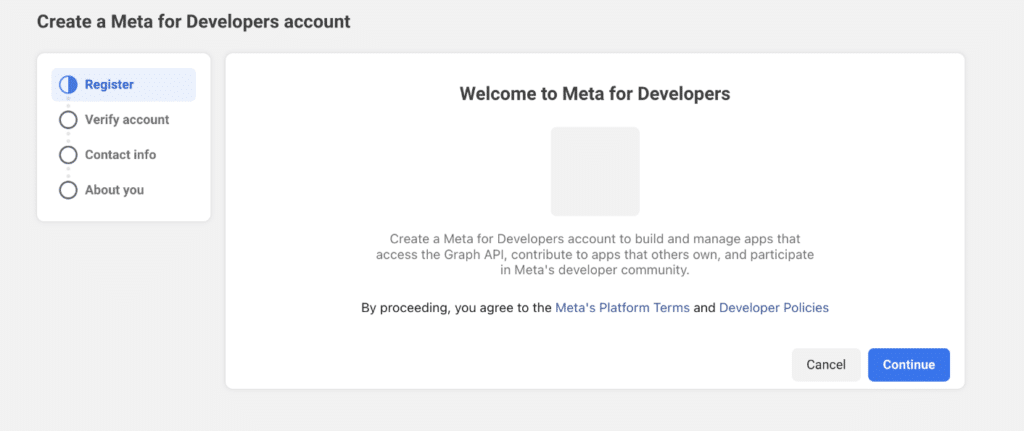
Step 2
Visit developers.facebook.com/apps/ and click “Add a New App.”

Step 3
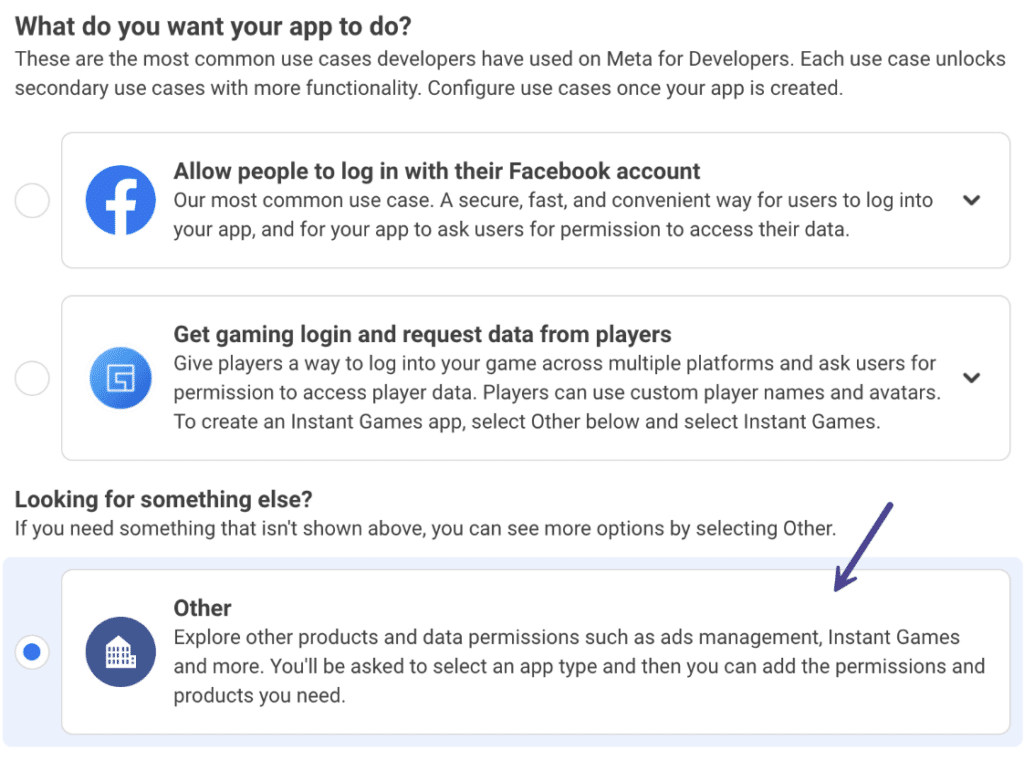
For the use case, choose “Other” and click “Next.”
Step 4
For the app type, choose “Business” and click “Next.”
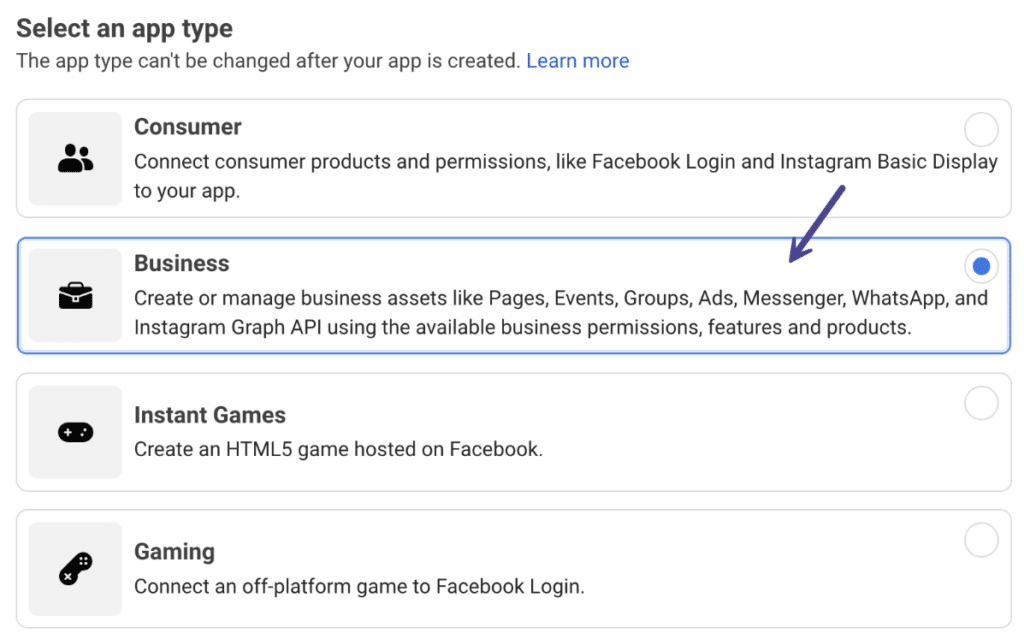
Step 5
Input a name for your app. This can be anything you want it to be. Input your email address and whether or not you’re using it for yourself or a client. Then click “Create App.”
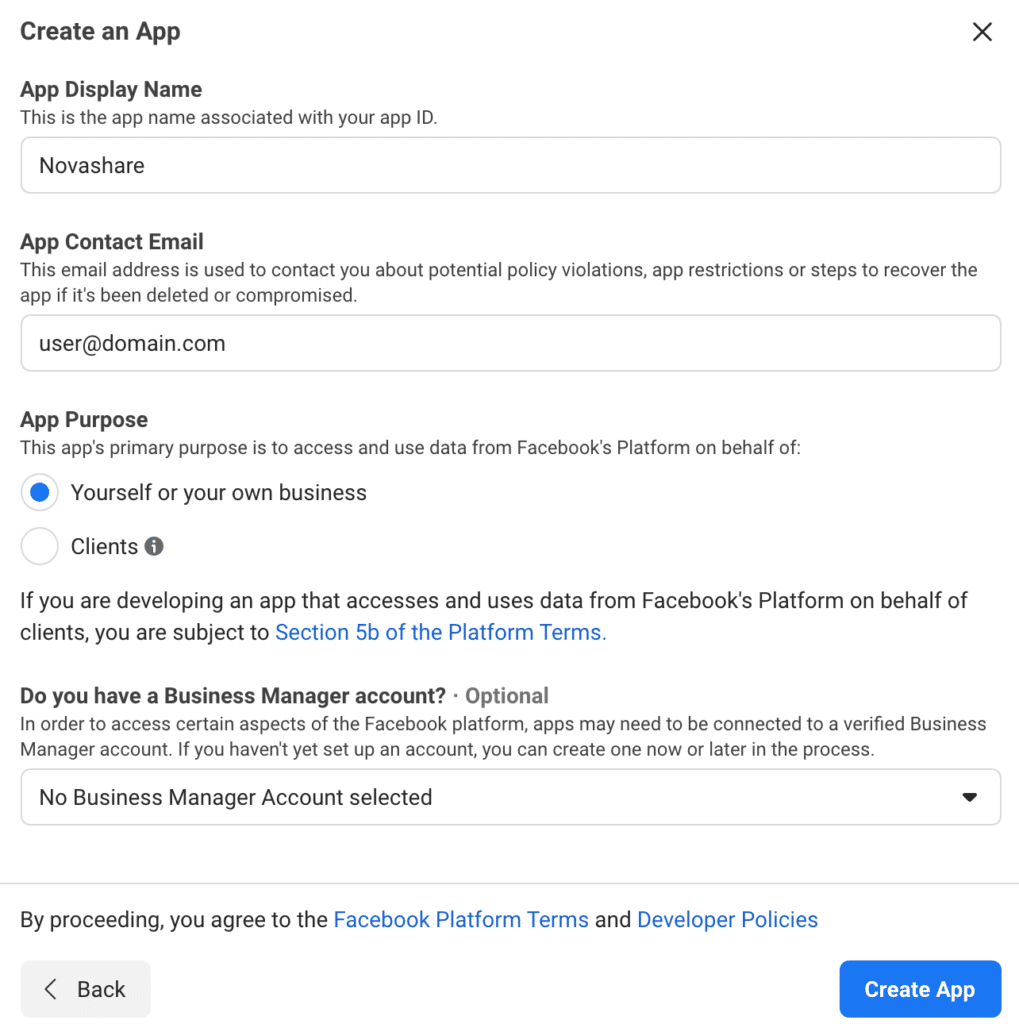
Step 6
Click into “Settings → Basic.”
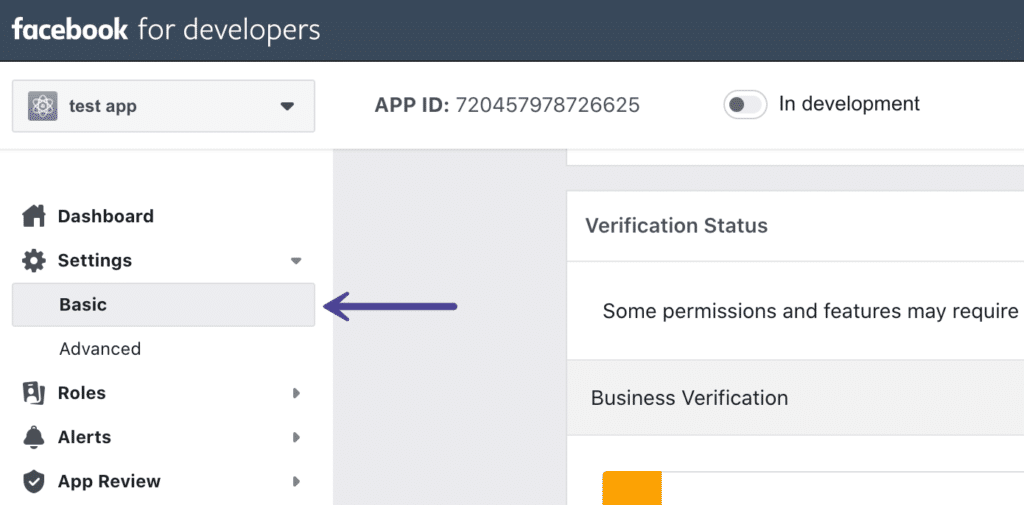
Step 7
Scroll down to the bottom of the page and click “Add Platform.” Then click “Website.”
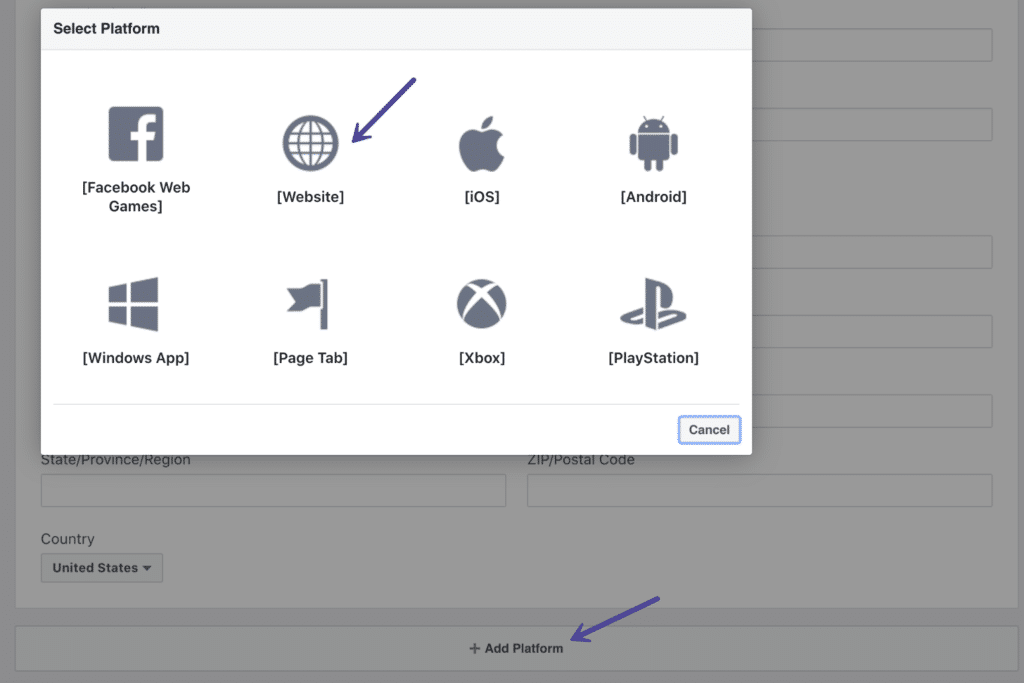
Step 8
Add your website’s URL and click “Save Changes.”

Step 9
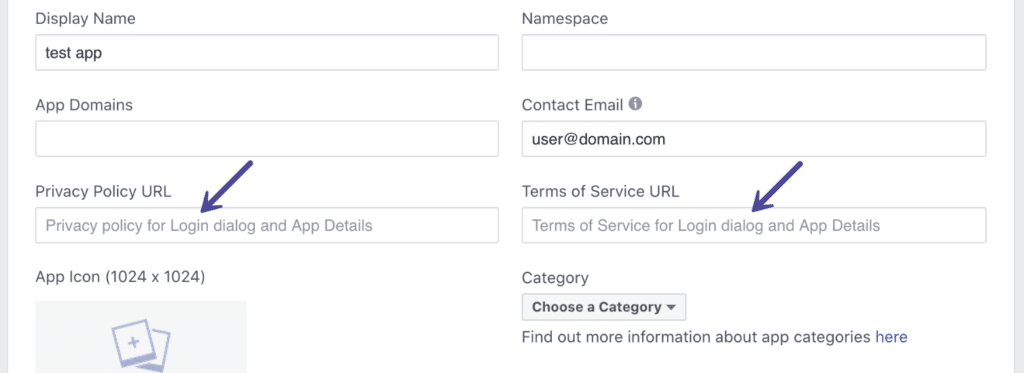
Scroll back up to the top and input your website’s Privacy Policy URL and Terms of Service URL. As of August 31, 2020, a Privacy Policy URL is required.
Step 10
At the very top, copy your Facebook App ID and App Secret to your clipboard as you will need to enter this in the Novashare plugin settings.

Step 11
Back on your WordPress site, click into the Novashare plugin settings.

Step 12
Click on the “Configuration” submenu.

Step 13
Paste in your Facebook App ID and Facebook App Secret.

Step 14
Scroll down and click “Save Changes.”