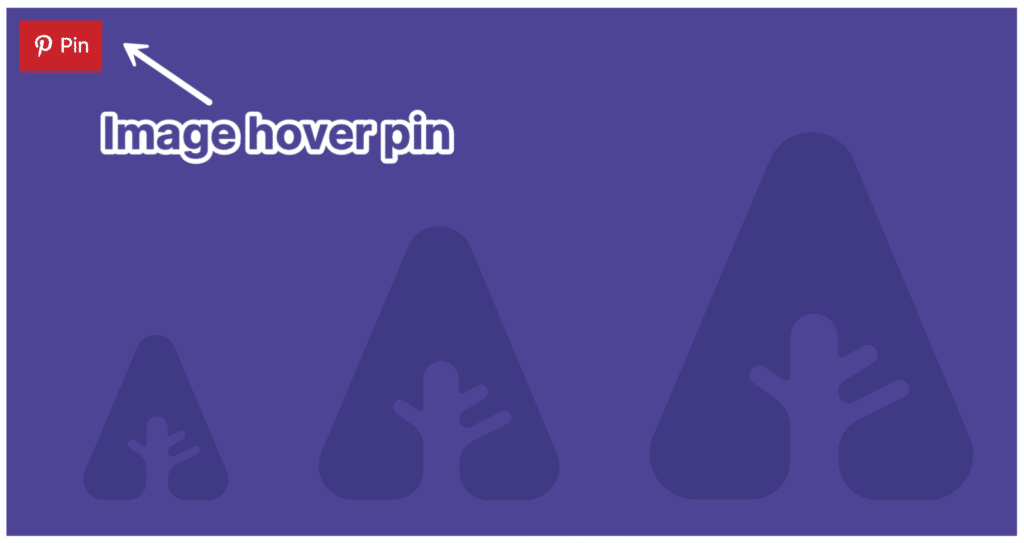
In Novashare, you can enable Pinterest pins that appear when hovering over an image in your content. This enables your visitors to easily pin an image from your site to Pinterest.
This feature is done entirely with inline CSS on the front-end with no additional JavaScript (and no jQuery). You can see this in action on the Novashare demo. We also have more styles coming for the Pinterest hover pin.

How to enable image pins
Follow the steps below to enable Pinterest image pins.
Step 1
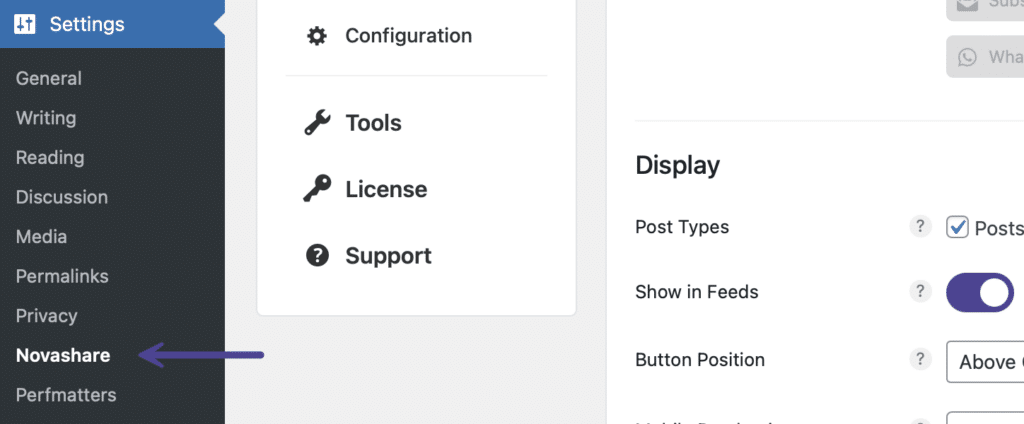
Click into the Novashare plugin settings.

Step 2
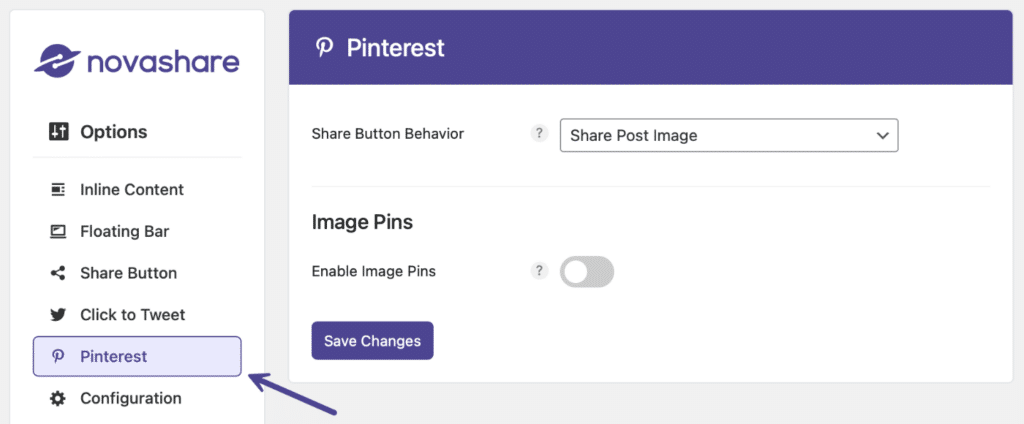
Click on the “Pinterest” submenu.

Step 3
Under the “Image Pins” section, toggle on the “Enable Image Pins” option.

Step 4
Scroll down and click “Save Changes.”
You will also want to choose the post types where you want to display the Pinterest image hover pins.
Choose post types
Follow the steps below to choose which post types where you want to display the Pinterest image pin buttons.
Step 1
Click into the Novashare plugin settings.

Step 2
Click on the “Pinterest” submenu.

Step 3
Under the “Image Pins” section, select which “Post Types” you want to display the Pinterest image hover pins. On most sites, you will probably select posts.

Step 4
Scroll down and click “Save Changes.”
Button behavior
There are three different button behaviors you can choose from for the Pinterest image pin buttons. Follow the steps below to change this.
Step 1
Click into the Novashare plugin settings.

Step 2
Click on the “Pinterest” submenu.

Step 3
Under the “Image Pins” section, choose the “Button Behavior” for your Pinterest image pin buttons:
- Share pin image (default)
- Share post image
- Show image grid

Step 4
Scroll down and click “Save Changes.”
Button position
There are 5 different button positions you can choose between for your Pinterest image pin buttons. Follow the steps below to change the button position.
Step 1
Click into the Novashare plugin settings.

Step 2
Click on the “Pinterest” submenu.

Step 3
Under the “Image Pins” section, choose the “Button Position” for where to display the Pinterest pin buttons on an image:
- Top left (This is the default)
- Top right
- Bottom left
- Bottom right
- Center

Step 4
Scroll down and click “Save Changes.”
Button shape
You can choose between three different shapes for your Pinterest image pin buttons. Follow the steps below to change the shape.
Step 1
Click into the Novashare plugin settings.

Step 2
Click on the “Pinterest” submenu.

Step 3
Under the “Image Pins” section, choose the “Button Shape.” There are three options: Squared, Rounded, and Circular. Note: The default is Squared.

Step 4
Scroll down and click “Save Changes.”
Button color
Follow the steps below to customize the color of your Pinterest image pin buttons.
Step 1
Click into the Novashare plugin settings.

Step 2
Click on the “Pinterest” submenu.

Step 3
Under the “Image Pins” section, choose the “Button Color” you want. There is a color picker, so you can literally choose any color. You can also paste in any hex value. Note: The default is the Pinterest red.

Step 4
Scroll down and click “Save Changes.”
Icon color
Follow the steps below to customize the icon color of your Pinterest image pin buttons.
Step 1
Click into the Novashare plugin settings.

Step 2
Click on the “Pinterest” submenu.

Step 3
Under the “Image Pins” section, choose the “Icon Color” you want. There is a color picker, so you can literally choose any color. You can also paste in any hex value. Note: The default is the Pinterest white.

Step 4
Scroll down and click “Save Changes.”
Always show
By default, the Pinterest image pin buttons only show when hovering over an image. However, some might prefer them to always show. You can enable this behavior.
Step 1
Click into the Novashare plugin settings.

Step 2
Click on the “Pinterest” submenu.

Step 3
Under the “Image Pins” section, toggle on “Always Show.” Note: The default is disabled.

Step 4
Scroll down and click “Save Changes.”
Hide button labels
Some prefer clean and simple Pinterest image pin buttons. Follow the steps below to hide the labels.
Step 1
Click into the Novashare plugin settings.

Step 2
Click on the “Pinterest” submenu.

Step 3
Under the “Image Pins” section, toggle on “Hide Button Labels.” Note: The default is disabled.

Step 4
Scroll down and click “Save Changes.”
Image placement
You can choose which images get Pinterest image pin buttons added.
- All images (default)
- Specific images

Based on the above option, you will then be presented with a field for excluded images or included images.
Excluded images
If you have chosen All Images for the image placement, you can exclude specific images from getting pins applied. Exclude an image by adding the source URL (example.png) or by adding any unique portion of its attribute string (class="example"). The format is one per line.

You can also use the novashare_pinterest_image_excluded_attributes filter if needed.
Included images
If you have chosen Specific Images for the image placement, you can specify images that will get pins applied. Include an image by adding the source URL (example.png) or by adding any unique portion of its attribute string (class="example"). Format: one per line

Add a pin repin ID
The pin repin ID can help increase your share counts by associating existing saved pins from your website on Pinterest. To find a pin’s ID, simply click into an already existing pin on Pinterest. In your browser’s address bar you will see the pin’s ID.

If you are using the WordPress Block Editor, click on the image you want to associate with an existing pin. On the right-hand side, paste the pin’s ID.

The above field is also available in the Classic Editor.
Disable pinning
Disabling pinning prevents the image from being shown in the Pinterest multi-select tool (for example, with the Chrome extension). It also prevents the Pinterest hover button from showing on an image.
If you are using the WordPress Block Editor, click on the image you want to disable pinning. On the right-hand side, toggle on the “Disable Pinning” option.

The above option is also available in the Classic Editor.
How to enable image pins on WooCommerce products
WooCommerce gallery images are coded in a way that requires the following filter if you want to enable Pinterest image hover pins. If you need an easy way to add a filter to your WordPress site, we recommend the free WPCode plugin.
add_filter('woocommerce_single_product_image_thumbnail_html', 'novashare_add_pinterest_images');How to pin hidden image
Sometimes you’ll have images explicitly optimized for Pinterest (different size, ratio, etc.). On every individual image in the Block Editor, there is a “Pin Image” section. Here you can upload a hidden image to the WordPress media library that is pinned to Pinterest instead of the one in the post.

- If you are using the “Share Post Image” feature, the hidden image would only be used if you clicked the Pin button on the image that has the hidden alternate.
- If you are using the “Show All Pinnable Images” feature, the hidden image will also show in the popup of all the images available.
- In both scenarios, we do add a tiny bit of JavaScript for performance reasons to delay the hidden image until it’s visibly needed. Think of it like lazy loading for your hidden images.
Troubleshooting
If your images are showing as broken icons, it could be that your CORS headers are wrong or that hotlink protection is blocking them. If you’re using hotlink protection in a service like Cloudflare, you can use a configuration rule to whitelist the request.